
The Blacktop Baller gets clear vision.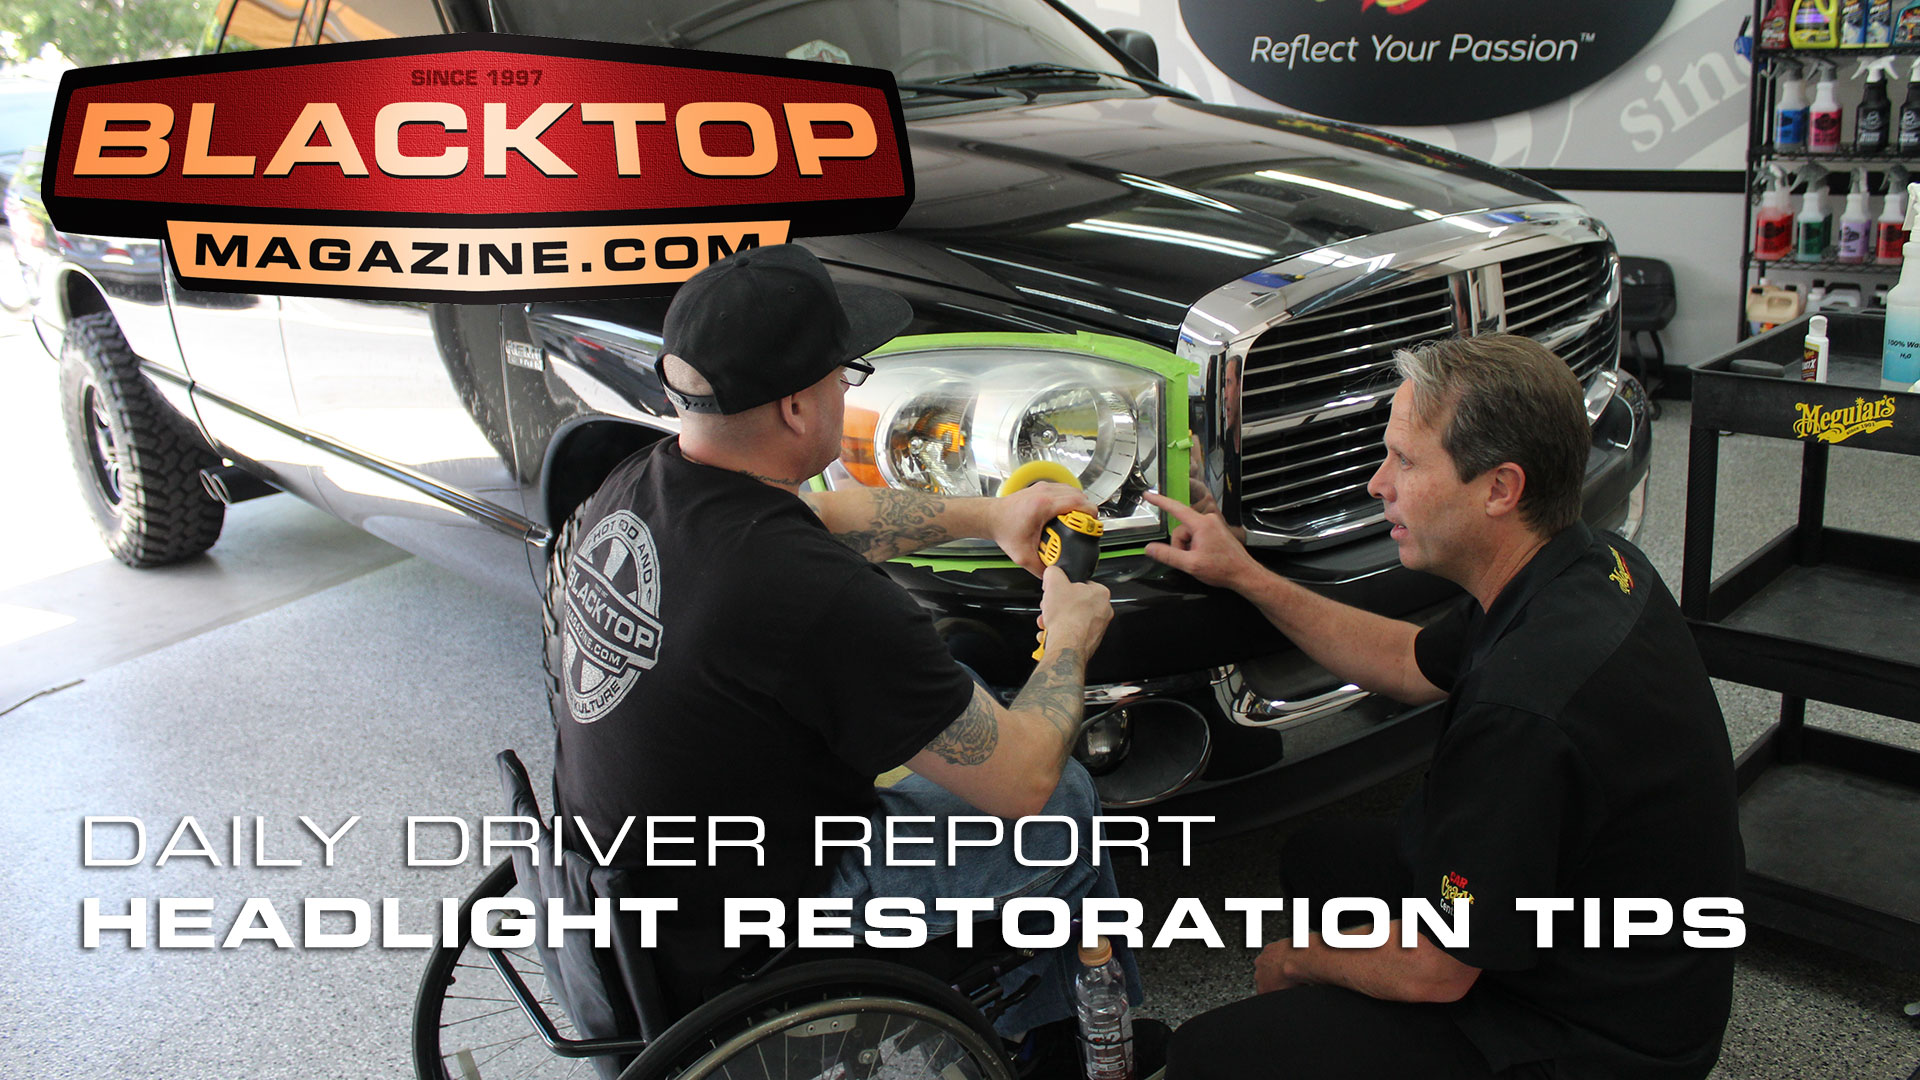
Billy and I rolled out to the Meguiar’s Garage for a demonstration with their Headlight Restoration Kit. Mike Pennington met us at the door and got busy sharing some tips and answering our questions about all kinds of products.
Let’s get started.
First off, you want to clean the lens really well with an all purpose cleaner. Another great tip is to tape off the adjacent body panels with painters tape, so the sanding discs don’t scratch your paint or chrome.
The Heavy Duty Headlight Restoration Kit comes complete with 1000 grit, 3000 grit sanding discs, a sanding pad, a buffer wheel for your drill, polish and protective UV coating.
Lightly wet the lens and sanding disc. Start with the 1000 grit and sand in one direction, left to right. Use moderate pressure, you may need to use more pressure for really foggy areas. Keep going back and forth in the same direction. Dry area and check for smoothness. You may need to continue with the 1000 grit to make the surface uniform.
Next, use the 3000 grit in the opposite direction, up and down. Keep it lightly wet with moderate pressure. Continue to get a uniform surface texture. Dry surface and inspect.
WATCH THE VIDEO ON BLACKTOP TV!


Now you get to polish the surface to a nice shine. Put about a dime size dab of the polishing compound in the center of the polishing pad. Rub it on the surface of the lens before you hit the switch on the drill. Failure to do this step will splatter the compound all over. Slowly start the drill and keep it perpendicular to the surface of the lens. Maintain a consistent speed between 1200, and 2400 rpm and move back and forth along the surface. Keep the pad wet with compound. Use a microfiber towel and clean off any residue. Inspect for uniform surface quality. When complete, clean all residue off well.
The final step is the protective UV coat. The kit comes with a sponge applicator. Squirt a liberal amount on the edge of the applicator and make smooth consistent motions from top to bottom overlapping each layer by 50%. You may need to add more coating to the applicator as you move along. Give it a nice consistent coat. DO NOT TOUCH THE LENS FOR AT LEAST 15 MINUTES!
Let dry for at least 15 minutes then remove the tape around the lens. Do not get the headlight lens wet for at least 24 hours.
There you have it, a nice like-new headlight lens. Cracks or badly worn plastic lens may need more aggressive sanding. The Meguiar’s kit is guaranteed to remain clear for one year.
See more details of the Meguiar’s Heavy Duty Headlight Restoration Kit HERE.
Photos/Story: Tony Colombini