Installing a Borgeson Power Steering Unit in Marcus’ ’66 Mustang 200 Coupe.
“ It’s OK. You can blame it on me, your knucklehead uncle.” I tell Marcus.
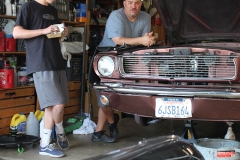
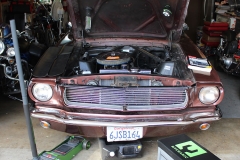
Marcus bought his first car; a ’66 Mustang in a dirt lot that is just one dog short of a junkyard. I walked around it with him and told him what’s, what and how it got hit there and the panels don’t match here… I wouldn’t tell him to either buy it or not, that is his decision to make. Marcus saw a vision with this car though. Thinking back to my first car. I get it. You’re excited and you love the first beater that comes up.
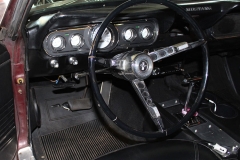
The first step is to make it safe to drive. We start a list going from safety, performance to style, in that order. The steering topped the list with a half of turn of play in the steering wheel. Not the best idea for a kid working on getting his license.
We’ve been asking our Mustang friends around here. Anyone that changed out their steering has gone with Borgeson. This one guy with a V-8 that looks almost identical to Marcus’, replaced his Ford PS twice before going to Borgeson. That unit has outlasted them all. Then at the recent SEMA Show, Billy and I ran into Jeff at the Borgeson Universal booth. We told him about the Kid Wrencher project and he showed us exactly what we needed. Well, he actually just told us what we need, you see the day before during the SEMA Show this guy kept coming around asking about the Ford box and wanting to buy it right there and Jeff refused. That night he covered the booth with black cloth like so many do. This morning, he gets to the booth starts taking the cover off and the Ford box was gone. He said it wasn’t a working model, there were no serial numbers on it, so if the guy is going to install it, it won’t work and he can’t call to get a refund… Idiots.
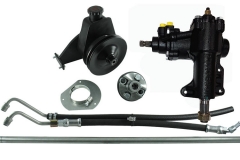
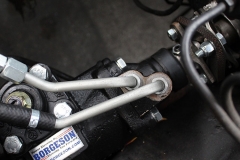
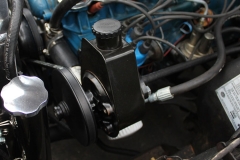
 The kit comes with a new steering column, rag-joint, 14:1 quick ratio steering box, and pump with pulley and two hoses. All we would need to get is a two-row crank/water pulley, belt and fluid.
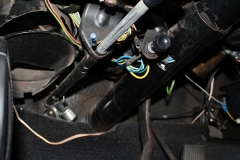
I would like to share maybe a few tips to accompany the awesome instructions that come with the kit. The most confusing part to me was the cutting of the steering column tube. In the first paragraph of the instructions it says: “Take note of measurement from the end of the column shaft to the column bell. This must be maintained with the replacement column shaft.” I was trying to figure out how I would measure the end of the column shaft at the box to the bottom of the bell of the steering column. My head was totally stuck on measuring from the box. Then it hit me, a couple hours later, as we were taking the steering wheel off. They mean from the wheel end of the shaft to the column bell! I measured the end of the shaft to bell and it’s 2-3/4 inches.
Removing the old steering box and shaft.
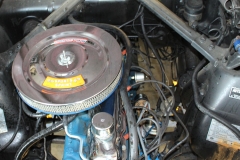
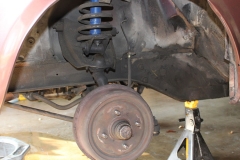
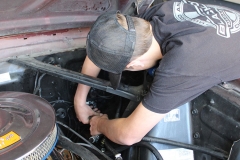
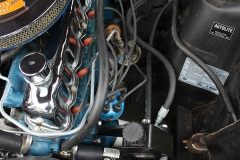
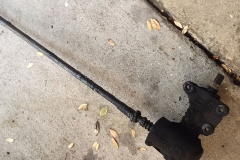
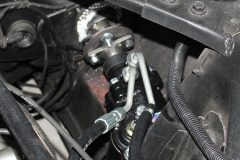
I’m not sure what the engineers at Ford are thinking some times. These early Mustangs had the steering shaft mounted into the steering box. We were fortunate, because it’s an inline 6 Cylinder there is just enough of room to maneuver the box and shaft around the suspension tower and yank it out. With a V-8 I’ve heard they would have to lift the engine up, or cut the shaft with a sawzall. The only thing we needed to get was a Pitman Arm puller from the local auto parts store. It worked like a charm and we released the box from the pitman arm that had to be attached since it was in the factory 51 years ago.
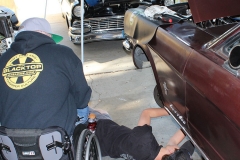
Installing the Borgeson box, we use the same frame bolts as with the original. These certainly won’t rust because they are covered with a protective greasy grime. Good to know. I first tried to hold it from above the fender and leaning over as Marcus sets the bolts in from the wheel well. That thing was heavy and I was afraid of dropping it, so I went from the bottom and that worked well as he found the holes and we got it bolted in without an issue. Setting the pitman arm in the right spline adjustment was a real bear. We turned the wheels, moving the linkage, trying to line the splines up. If there is a tip out there, I’d sure like to hear it. Whew! After what seemed like a half hour (probably 5 minutes) it finally fit and we beat it in there with a deadblow.
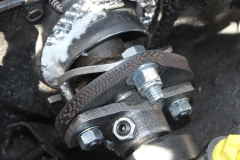
Now to install the rag-joint to the new steering box. What the? The box is so close to the firewall, I have to take the rag apart to put it on. I would suggest putting the rag on the box before you install it in the car.
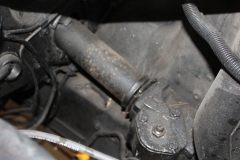
OK, so now that that’s all together let’s get the steering column in. Marcus guided it down the steering column tube in the car, and I set it in the rag joint hanging over the fender. The steering column tube hits the rag joint just inside the engine compartment from the firewall. Here is where we go back to the 2-3/4” end of the column shaft. We line up the column tube to just off the rag-joint. I get the long Phillips head screwdriver, stick it in the column tube till it hits the end of the column shaft. Measure it off at 5” deep. Add the 2-3/4” and we cut 7-3/4 inches off the bottom of the column tube.
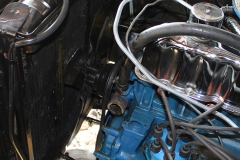
When it came to installing the crank pulley we opted for a second pulley, which bolts directly to the crank pulley with the original center bolt and three pulley bolts that come with the pulley. After the radiator was removed, we removed the center bolt on the crank pulley. Hmm. Everytime we turned to loosen the bolt, the engine turned. We looked up online and most suggested to use an impact wrench. I called my buddy Joey for some advice. He offered a “ghetto” way to remove the bolt. Pull the coil wire off the coil. Put a good wrench or socket with a breaker bar going to the left side of the frame. I gave Marcus the cue and he quickly turned the ignition key on and back off. The force of the starter on the crank spun the bolt loose. Neat tip! Thanks Joey.
Now this part is where it might be better to have a lift, so you can really see what you are doing.
With the bolt out I notice a big washer/spacer on it. Hmm. Probably will need to keep this. I leave the spacer in the depression in the crank pulley, line up the PS pulley over it, stick the bolt in the middle and then line up the three holes for the pulley bolts. Mind you this is all by feel reaching over the core support. I get the bolts and lock washers in hand tight. Reach for the trusty socket wrench and tighten them down. When finishing each bolt, I hear and feel a little crack. Thinking it was the lock washers, I finish up.
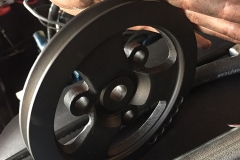
It wasn’t till after we installed the Power Steering pump when I get under the car and notice the bolts on the pulley are wonky. I grab my PIK Light from MYCHANIC and see that each of the “ears” on the pulley with the holes for the bolts are all snapped!
WTF!
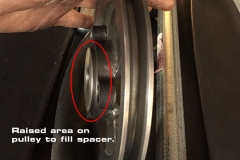
It was that damn spacer. The new pulley had a raised area to replace the spacer, and keep it snug to the crank pulley. That extra space broke off the tabs for the bolts.
So we can’t run the power steering tonight. We remove the pulley and figure Marcus can drive home with the steering box, just not power steering.
UNTIL THIS HAPPENS….
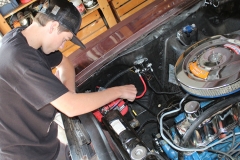
When re-installing the radiator, I notice the spot welds on the top of the tank/bracket were broken. We didn’t see that the opposite bottom corner was also broken. As we filled it up with fluid, Marcus got ready to turn the key. I stood to the side of the open hood watching and just as I told him to give it a spin, I thought the radiator looked a bit close to the fan and whirl! CRASH and shower! He shut it down right away. The fan had taken out the bottom right of the radiator. Spewing fresh Prestone all over.
Not going anywhere tonight.
So it wasn’t till next week, Christmas Eve to be exact, that we would have a new radiator and get it back on the road. Check out that article installing a Champion Cooling Systems Radiator HERE. Actually, it was on Christmas Day when they installed a new water pump that happened to start leaking AFTER we installed the new radiator.
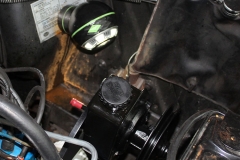
Finally, with a new pulley, and belts, we install the lines and fill the pump reservoir with AMSOIL ATF. A test drive around the block proved we didn’t tighten the lines, so a quarter turn on the fittings and she’s all leak free. Marcus was able to drive his car home and the steering as he says is better than his mom’s late model and kept it’s cool too. Now to secure a new steering wheel, then front brakes with 5×4.5” lugs.
Share your Kid Wrencher story with the #KidWrencher hash-tag on your favorite social media channel.

