
 There are several stories to write about the past 4 months as I dug into my car to completely re-wire it, clean up the engine compartment, and lightly re-style the interior. I will touch on the installation of things like a chrome/tilt ididit steering column, CON2R custom steering wheel, Flaming River’s high-output alternator, Eddie Motorsports bitchen shift boot bezel, Clayton Machine Works customizable door handles and window cranks or the new Custom Autosound USA 740 bluetooth receiver/stereo. I may talk a bit about the tools from newcomer Mychanic and keeping my hands protected with Adenna gloves. The best part of the story are the great moments filled with lasting memories and near tragic failings. I look forward to sharing about the people who helped like Craig “Jerzy” Maiorana coming over after work with homework assignments or helping out on weekends, even wifey Christina came over to help too and the loads of advice from friends such as Albert Traille and Michael Harding and family with my mother-in-law and nephew kicking in some skills.
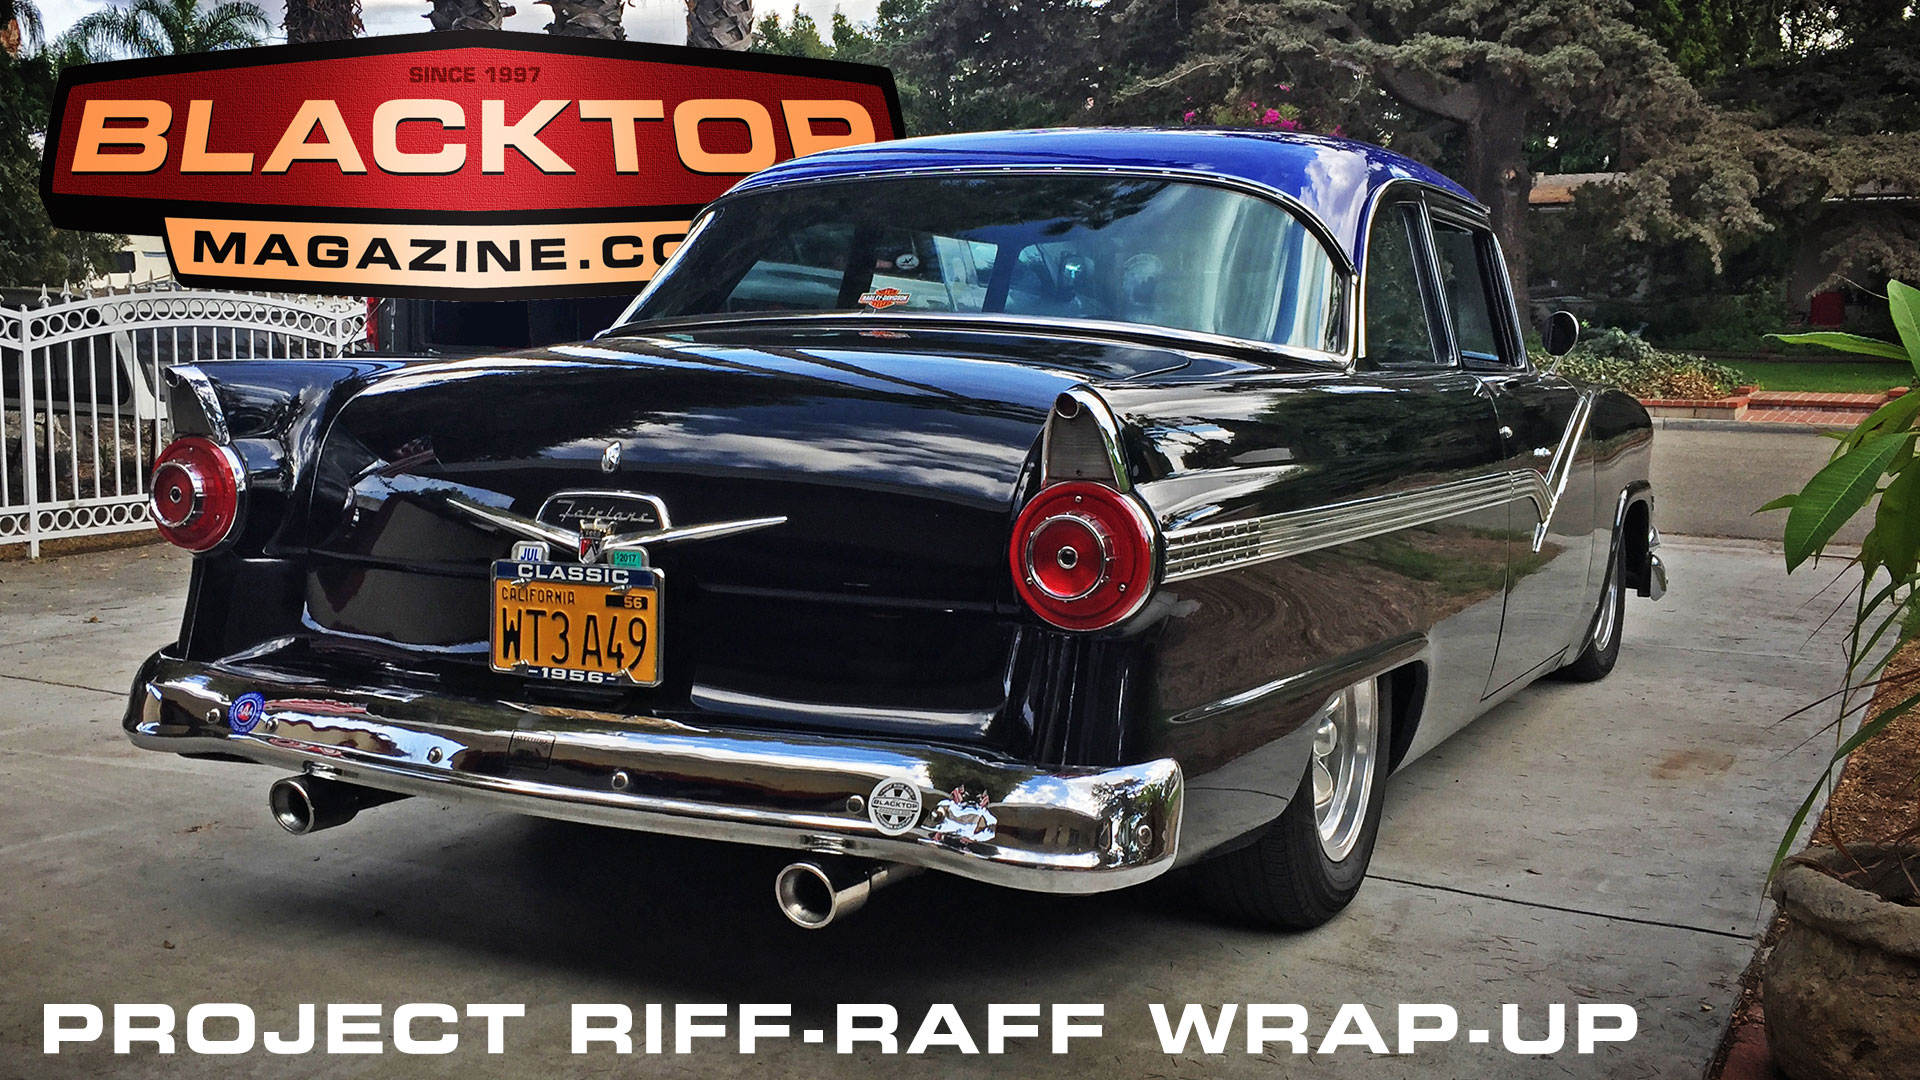
It’s a story of the new-found enjoyment of driving the car we call Riff-Raff.

Let’s start with the ending.
I just got home from rolling out to the inaugural Friday Night Drags at Irwindale Speedway with Underoath Car Club. The track is 30 miles straight north of me and on a Friday afternoon in Southern California it can take an hour or two to get there depending on traffic. I left at 3:30 and rolled up a mostly bumper to bumper only a week or so after getting the car back on the road after 4.5 months in the garage. It ran much better than ever before. The fan was on the entire route, which needs to be adjusted. That fan is loud. The ride was sure nicer than the hot box just months before, when I limped home on 7 cylinders from the same racetrack. Which meant for a new ignition system.
The comfortable ride could be attributed to the repaired firewall, the steering column and wheel, the tunes or the roar, and most likely all the above. It may very well be the bit of self-confidence gained from doing so much work on the car.
Installing the new ididit tilt/chrome steering column was the best thing for the overall comfort. For two reasons, we fixed that big hole in the firewall, and with a rebuilt mount so the column doesn’t bounce up and down when turning.
My Nephew Marcus came over to help yank the old steering column out of the car. The column mount at the firewall was all stripped and busted up. I couldn’t believe how beat up it was and the gaping hole in the firewall allowed all the heat from the headers to blast straight into the cabin. I banged the mount into submission and cut a couple of layers of Armor from Heatshield Products, and patched that gape up. Driving on one of the hottest days this Spring, in bumper to bumper traffic for an hour was a great test. Then to take the car on the 1/8th mile track made for a fun evening. My best reaction time was .084 and my best time was 10.26 at 72mph! I learned that street radials are no match for the dragstrip, but great for running up freeway onramps. Congrats to Underoath member Joey Johnson who took his ’67 Fairlane under the 7-second mark that night.


To top off the column I ordered a custom steering wheel from CON2R. This is the third steering wheel I have had on my car. I have to say it is the most comfortable. The CON2R has the grip diameter I like. I was able to design the wheel from a simple set of selections and boy did it turn out great. If you want to update the feel of your car, the best place to start is where you touch. Steering wheel, shifter, door handles/window cranks. You won’t regret it.
When installing a new steering column and wheel, wait till you get the column in before ordering your wheel. I ordered a flat steering wheel from CON2R as my previous wheels had no dish to them. The column from ididit was one inch longer as the stock column, which would be fine, but when installing the column, the wiring came out of the column right at the drop on the dash. So the great people at ididit took the column back to shave a couple of inches off. With that shortened column the wheel is just a bit of a reach. A 2-3” dish would make a good distance. I finished off the interior with a painted gauge panel, Eddie Motorsports shifter boot bezel and custom blue sparkle vinyl boot stitched by my mother-in-law Mary Jerome. I cut the same fabric and glued it in a set of Clayton Machine Works door handles and window cranks.
The grin on my face driving comes from challenging myself to do something that most car guys run away from. Rewiring the car. I liked the Ron Francis Wiring kits. They are packaged in a series of bags labeled alphabetically. If you start with Bag A and move down the alphabet, it should be no problem. Michael Harding at Street Muscle Magazine just finished installing the same kit in his ’65 Belvedere. It was nice to read up on his article before I started. There was one guy I knew I could rely on to be here, in the garage. I called Jerzy and asked if he was up to helping me out. Having someone like him to watch my six, teach me a few of his tricks and help out with the heavy lifting was a blessing. Super grateful.
Remove Old Wiring And Label It All.


Tearing out all the wiring, which meant tearing into most every section of the car. Without getting too deep into the how’s and why’s there was really no way to label everything I was pulling out. I labeled each terminal in the engine compartment and lights, but when it came to diggin’ under the dash it was such a rat’s nest and some wires, just ended to nowhere. There were two red wires that came down the firewall and under the carpet at the drivers feet and stopped with just cut ends. Some wires under the dash had exposed wires and some were CHARRED!
Gadzooks! I am really fortunate the car didn’t burn to the ground.
Crimp/Solder/Heatshrink All Terminals.
Ring terminals are my new friends. It was nice that Orvac Electronics and Harbor Freight are so close. To learn more about Lesson 2, check out this quick video:
When I was at the West Coast Kustoms Cruisin’ Nationals in Santa Maria, my roomy Albert Traille suggested I use Terminal Blocks for areas that require multiple connections. I installed a ten-wire terminal block next to the Starter Solenoid on top of the inner fender. Craig Chaffers if CMC Designs cut a wire bridge I designed with the Riff Raff name on it. This wire bridge carries the wires from the engine over to the inner fender in a neat and inventive way. After removing the heater core, the hole in the wall was patched and the firewall was painted metallic blue to match the wire bridge and the gauge panel inside.
Moving to the cabin Billy suggested to install the fuse panel on the passenger side firewall where the heater core was. This way, I could run all the dash wiring in a nice loom over to the passenger side and tie it in neatly. His idea made sense, since the battery is located in the trunk on the passenger side, and the starter is on the passenger side.
We got it all wired up, tested it out a couple of times. We used a 9-pin connector for all the gauge wires and installed the gauge pod. It was after dinner on a Saturday night, when I was buttoning it up and gave it one more test before I bolt in the gauge pod. I hook up the power to the battery, got in the cab, turned the switch heard a pop, sizzle and POOF, the cabin is filled with SMOKE!
I run to the back, disconnected the battery and grabbed a fire extinguisher. Standing at the ready, the smoke clears and I take a deep breath. Burnt wiring doesn’t smell good. I watch the smoke curl out the garage door and away like watching a wave curl above you as you dive under. I run in the house and fetch Billy.


A stupid little mistake nearly burnt my house down. Apparently the light switch housing was turned a bit behind the dash. Enough to where it just touched the ignition terminal on the back of the starter switch. This is where I have to praise Ron Francis Wiring. When soldering the terminals with a torch, I noticed their casing didn’t flame up or melt. It simply expanded a bit. My guess what happened was, the casing of the 10ga Ignition Wire heated up from the switch to the solenoid. The casing expanded like a balloon in the heat and popped with an electric smoke. Only where it touched the edge of the carpet near the fuse panel did it melt the carpet. Re-install a new set of ignition switch wires and I would be good to go. Although I did buy new fire extinguishers for the house.
The Edge of Confidence.
As I replaced all the wiring that was damaged I noticed I was working differently. Nervous, and constantly questioning myself on what I was doing. I found the edge of my confidence. Once realized, I then forced myself to move forward. How did I motivate myself? I kept thinking that the outcome would be better than the stagnation. That I will soon, very soon, be able to enjoy my car more than just in the garage. I will be able to have some fuel fed fun on the blacktop.
So I persevered.


With a shaky hand and butterflies in my stomach I continued running the wires. Double checking each connection and being sure to wrap the ignition switch so, just-in-case the light housing moved I would have some level of security. Not only that, but I took my Spring Tools punch and put a small mark at 12:00 high on the light bezel, so I can see from the seat if the light housing moved at all. I did everything I could think of to be safe.
With it all buttoned up, I called my son to come help with firing it up. I wanted him to be at the ready to turn off the battery in case something went a wry.
A twist of the key and she fired right up. The open headers roared and my shaky hands and butterflies flew out the garage door. The Bluetooth enabled Custom Autosound USA-740 system roared to life with the Song Remains The Same blasting through the speakers.
I grabbed the B&M Quicksilver Shifter with a custom blue flake vinyl boot my mother-in-law Mary Jerome stitched for me and dropped it into drive and headed out the driveway on my way to the Friday Night Drags at Irwindale Speedway.
I found my edge of confidence and blew right past it. Now when take the car out I feel proud of all the work I did. The near tragedy brought in another level of understanding and respect for those who do this professionally.
I invite you take a deep look at your car I am sure there is something that can be fixed or repaired. Take the plunge and do something you have never done before. Bring a kid in the garage and have them help you. The result will be a great boost of confidence for them and a re-newed sense of satisfaction driving your car.
Watch: Benchracing with T-Bone and Jerzy.
Thank You:
Craig Maiorana, Mary Jerome, Marcus Jacobson, Billy, Michael Harding, and Albert Traille.
Ron Francis Wiring, ididit, CON2R, Custom Autosound, Clayton Machine Works, Eddie Motorsports, Flaming River, Heatshield Products, Adenna, MYCHANIC, B&M, CMC Designs
Story/Photos/Video: Tony Colombini