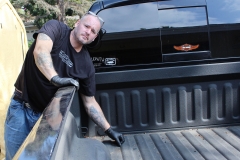
“The SEMA Crunch is REAL!”
I joked online as we received our TrekStep from Bestop on Wednesday before the big show. “It’s gonna take some long nights to finish our SEMA Build!” There was that ONE-GUY who had to think we were serious. “How many thumbs do you have?” He exclaimed.
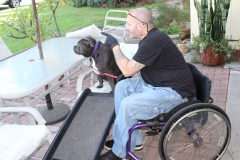
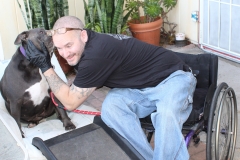
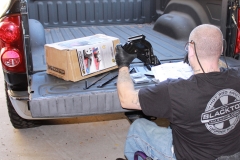
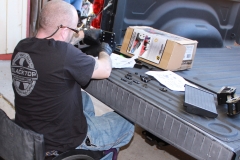
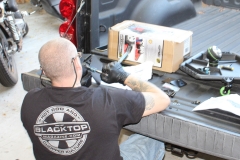
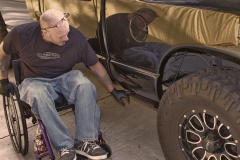
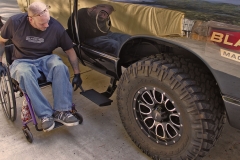
We get ready to do the installation and I look over and Billy is getting some instructions from Hilda. Apparently she read the instructions last night and wanted to give him a few pointers. The first thing in the instructions: Installation Time: 1/2 Hour.
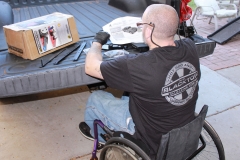
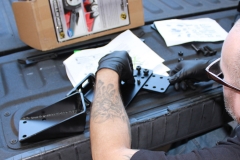
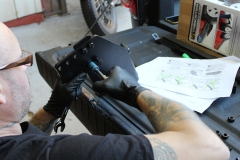
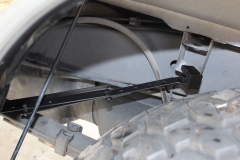
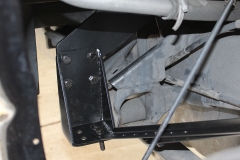
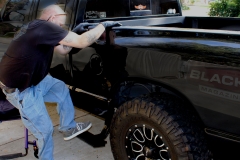
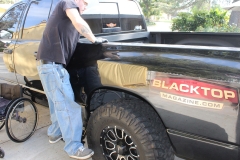
I remember Billy telling me there were only two bolts to put this thing on. Yep, two bolts from the Frame Mount Foot to the Linkage Assembly which uses four bolts to attach the Running Board Assembly. Then there are four bolts that hold the Frame Mount Foot to the Frame Mount. And, depending on your vehicle you may need to add the Cross Bar Mount to the Frame Mount. We used a locking block with a M8 Hex Set Screw which attached the 2-piece Large Side Mount to the Frame Mount Foot which is attached to the Frame Mount. All of that assembly is mounted to the Frame and Bed Rib using the factory Bed Frame Rib to Frame bolt.
Yep, two bolts.
That last part. The factory Bed Frame Rib to Frame bolt. That was one of the first steps. It was also the hardest. Especially when you are working with crappy money-saving sockets. The only bolt we had to remove from the vehicle was the toughest. That thing was cranked on like you wouldn’t believe. In order to get the best leverage of the thing we had to use a couple of 4″ extensions to our socket set. After using a pipe in the end of the wrench to get more leverage the thing started twisting slowly. I peered up between the sides of the leafspring mount and see the top extension is twisting, but the socket isn’t moving and all of a sudden
SNAP!
The end of the top extension shears off in the socket! It was the cheap Chinese made extension that broke. The Craftsman one below it, held as strong as ever.
That put an end to that Saturday night session. We conceded go to our friends hot rod shop and have them loosen the bolt for us with an impact gun when we get back from SEMA.
After having coffee with the Mercifuls on Sunday Morning, I realized we had to get back under the truck and try it again, I promised to have this thing mounted before SEMA. I aint going to let one bolt get in my way, am I?
We talked about putting a socket on the end of our Craftsman drill gun and burn the motor up, then we thought to try the socket one more time, this time with the hefty 1/2 wrench, it’s long extension and a coupler to bring the end down to 3/8 for a Grip-Tite deep socket. The combination gave a great leverage point and after a couple of grunts, putting my knee to the front of the back tire, it finally started to budge and then twist off with moderate pressure. WHEW!
All of that sounds a bit hectic but it actually is a pretty simple job. Like I told our Nephew Marcus [#KidWrencher]: “A bad day in the garage is better than a good day at work.” He’ll get it more when he starts working. Once we figured out the instructions for our specific vehicle it went on with relative ease. This set we received is for 2002-2008 RAM 1500 and 2002-2013 RAM 2500/3500. So read through the directions carefully. There were several parts that didn’t pertain to our situation.
Take a look at the TrekStep and all the cool products for your truck at www.BESTOP.com Tell them Blacktop sent you!
Story/Photos: T-Bone, Installers: Billy and T-Bone

